Refinishing the Church Pew
I had been wanting a church pew to fit our long entry way since we moved in. While we were in Kansas for a trip to visit family, my mother in law mentioned that she had found a church pew at a flea market and she didn’t have a space for it. The pew was perfect for our entry way however! So we loaded it up and brought it home with us. While the antique church pew had seen a few modifications such as being shortened and several layers of orange varnish, I looked past those characteristics because I knew that I could refinish it. Little did I know the task that was at hand. Here is my journey in refinishing a piece of furniture, overall I am glad that I did it and I know the pew is in better condition than when I found it. My one piece of advice before you start this process is to plan. Plan to make a mess, plan to put some major elbow grease into the project and plan for it to take longer than expected. When working with antique furniture you never know what may happen until you are into it. I have learned in this process that wood has a mind of it’s own and as much as we want it to look a certain way that isn’t always the case. If you prefer a more comical, in-depth video tutorial on the project be sure to check out our Instagram saved highlight under Church Pew Rehab.
BEFORE REFINISHING


Step 1: Gather all your materials. Here is a list of the products and tools that I used. I highly suggest a good quality sander as you will be spending a lot of time with this tool.
Citristrip in the gel format
Household Rags (A lot of rags!)
A small metal scraper
Plastic or Saran Wrap
Brush for cleaning and toothbrush
Electric Sander with 120, 180, 220 sandpaper
Hand sandpaper (for the small areas)
Dremel (Optional, but worth it!)
Paint Brushes that can be thrown away after use
Small Metal and plastic bucket
Stain of your choosing (I chose Minwax Classic Grey)
Minwax Polycrylic in clear Matte
Liming Wax (optional)
Drop Cloth
Disposable gloves
Disposable dust face mask
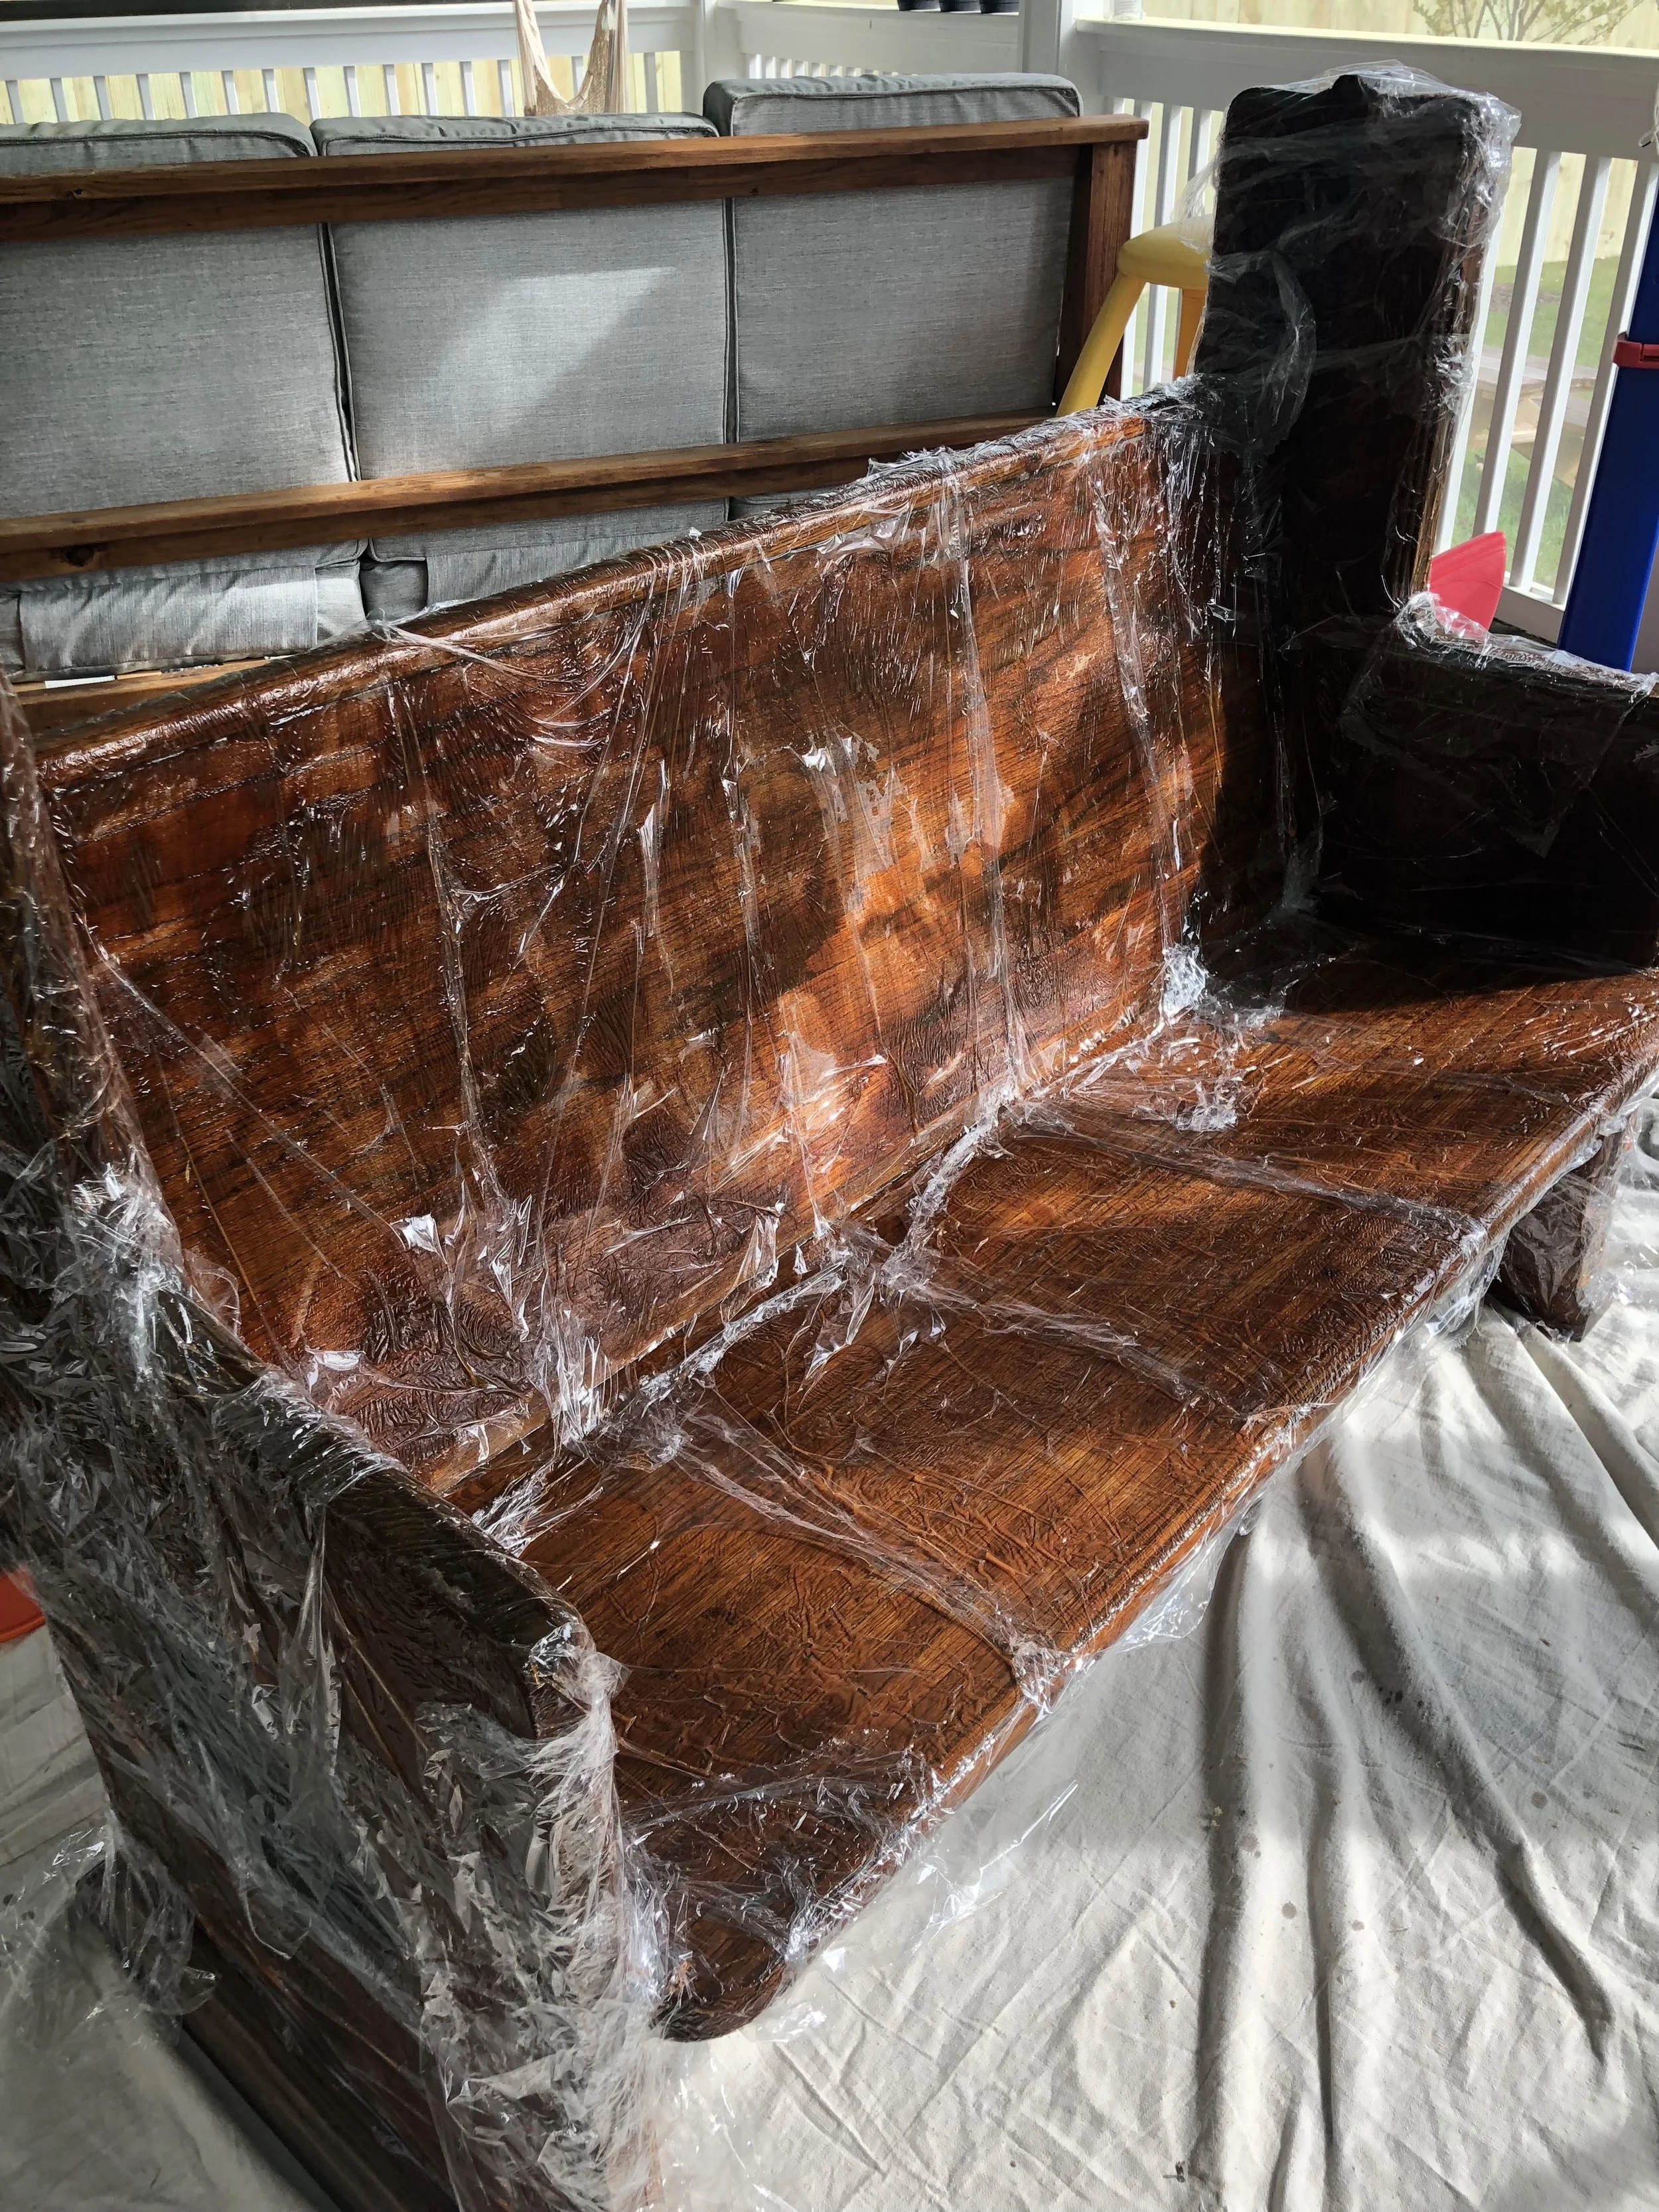
Step 2: Prep your furniture and Apply Citristrip. For this I moved the pew to our covered porch. With the dust and chemical fumes you will want to be in a well ventilated area that is not indoors. I placed a heavy drop cloth over the deck to protect it while I worked. The first step in this process is to apply the citristrip. Be warned this is a messy process! You will want gloves and a mask during this process.
Applying the Citristrip: For this process you will want to do it in sections. I poured a good size amount of citristrip into a plastic bucket and used a paint brush to apply to the pew. You will want to do this generously. After I finished a section I would wrap it in plastic wrap to prevent it from drying out. Do this all over and then in about 30 minutes remove a small section of the plastic wrap to do a test scrape. If it is ready then you will see the existing varnish and stain be easily removed by the metal scraper. Since my pew had years and years of furniture polish and several coats of varnish this process for me took 24 hours.

Scraping: In 24 hours I removed the plastic wrap and began the scraping process. This was messy and tedious work. Be prepared for that. Have a bucket or something to put your scrapings into that you can throw away. Do this in sections, removing the plastic wrap as you go.
Step 3: Prepping for sanding. After all the citristrip has been removed by a metal scraper and discarded you will want to wash your piece of furniture with the Klean After Wash. This removes the gunk that the citiristrip leaves behind and makes the sanding process easier. Pour the after wash in a metal bucket and use a mask and gloves for this process such as the Nitrile type. Then use a cleaning brush to wipe down and scrub the entire piece. Use a toothbrush in the fine detailed areas.
Bleaching (OPTIONAL): Bleaching your furniture is a completely optional step and can vary by wood types. I chose to do this step in hopes to take the red out of the wood. I applied 4 coats of straight splashless Clorox bleach with a rag. I worked in small sections and let dry completely before applying the next coat. Drying is a fast process so hang in there! I told Josh that if nothing else, the church pew will be extremely sanitized.
Step 4: Sanding. This is where you will be spending a lot of time. This is the part of the process that earns the phrase “a labor of love.” I highly recommend the Dewalt Orbit Sander (link is above in the list of materials) because you will want a high quality sander that gets the job done. Start with a high grit sand paper such as 120 and then work your way to 220. Use hand sandpaper in the hard to reach areas. And if you feel like your hand is going to fall off put down the hand sandpaper and go buy a Dremel! This thing saved my life and made the job go ten times faster! Be sure to wear a mask during this process.
A little side note - During the sanding process my church pew basically fell apart at the seams. The old glue had deteriorated making the pew break in the seat and where the seat and the side panel came together. Josh repaired the bench by adding pocket holes to the seat and attaching with screws and wood glue. The good news is that by doing this the church pew will be stronger and last longer.


Step 5: Staining. Choose a stain that you like and will fit well with your home. This process was difficult for me because I had an idea of what I wanted for this pew before I started and the wood had a mind of its own. I wanted a weathered oak, driftwood look so I chose the Minwax weathered oak stain. I applied the stain to a small test piece. With this I noticed that the stain turned it a orangish color, the complete opposite of what I was wanting to accomplish. I then sanded that area and picked a new stain. This time I went with Minwax Classic Grey. This stain gave me a gray undertone color which I really liked. I applied the stain over the entire pew working in small sections and in a wipe on, wipe off method. I never let the stain stay on the wood for a period of time. When you stain make sure you where gloves and use a small rag to deposit the stain. Then wipe off with a clean, dry rag.
Step 6: Sealing. After your wood has been stained apply a Polycric in a clear matte finish. The trick to this process is a light hand in even strokes. Make sure you go with the grain using a clean paint brush. You can apply as many coats as you feel fit. I applied 2 coats of the poly. After this process you can choose to be done (congratulations!!!) or you can choose to apply a liming wax to give the wood a antiqued look.

Liming Wax: This is an optional step that will give your wood a antiqued, lighter feel. What the wax acts as a highlighter when applied. It fills the pores of the wood with the white wax. To do this use a small clean rag and wipe on the wood. I did a method of using against the grain to really fill the pores. Then immediately wipe off with a clean rag. This takes elbow grease and you will get a good arm workout from this process.
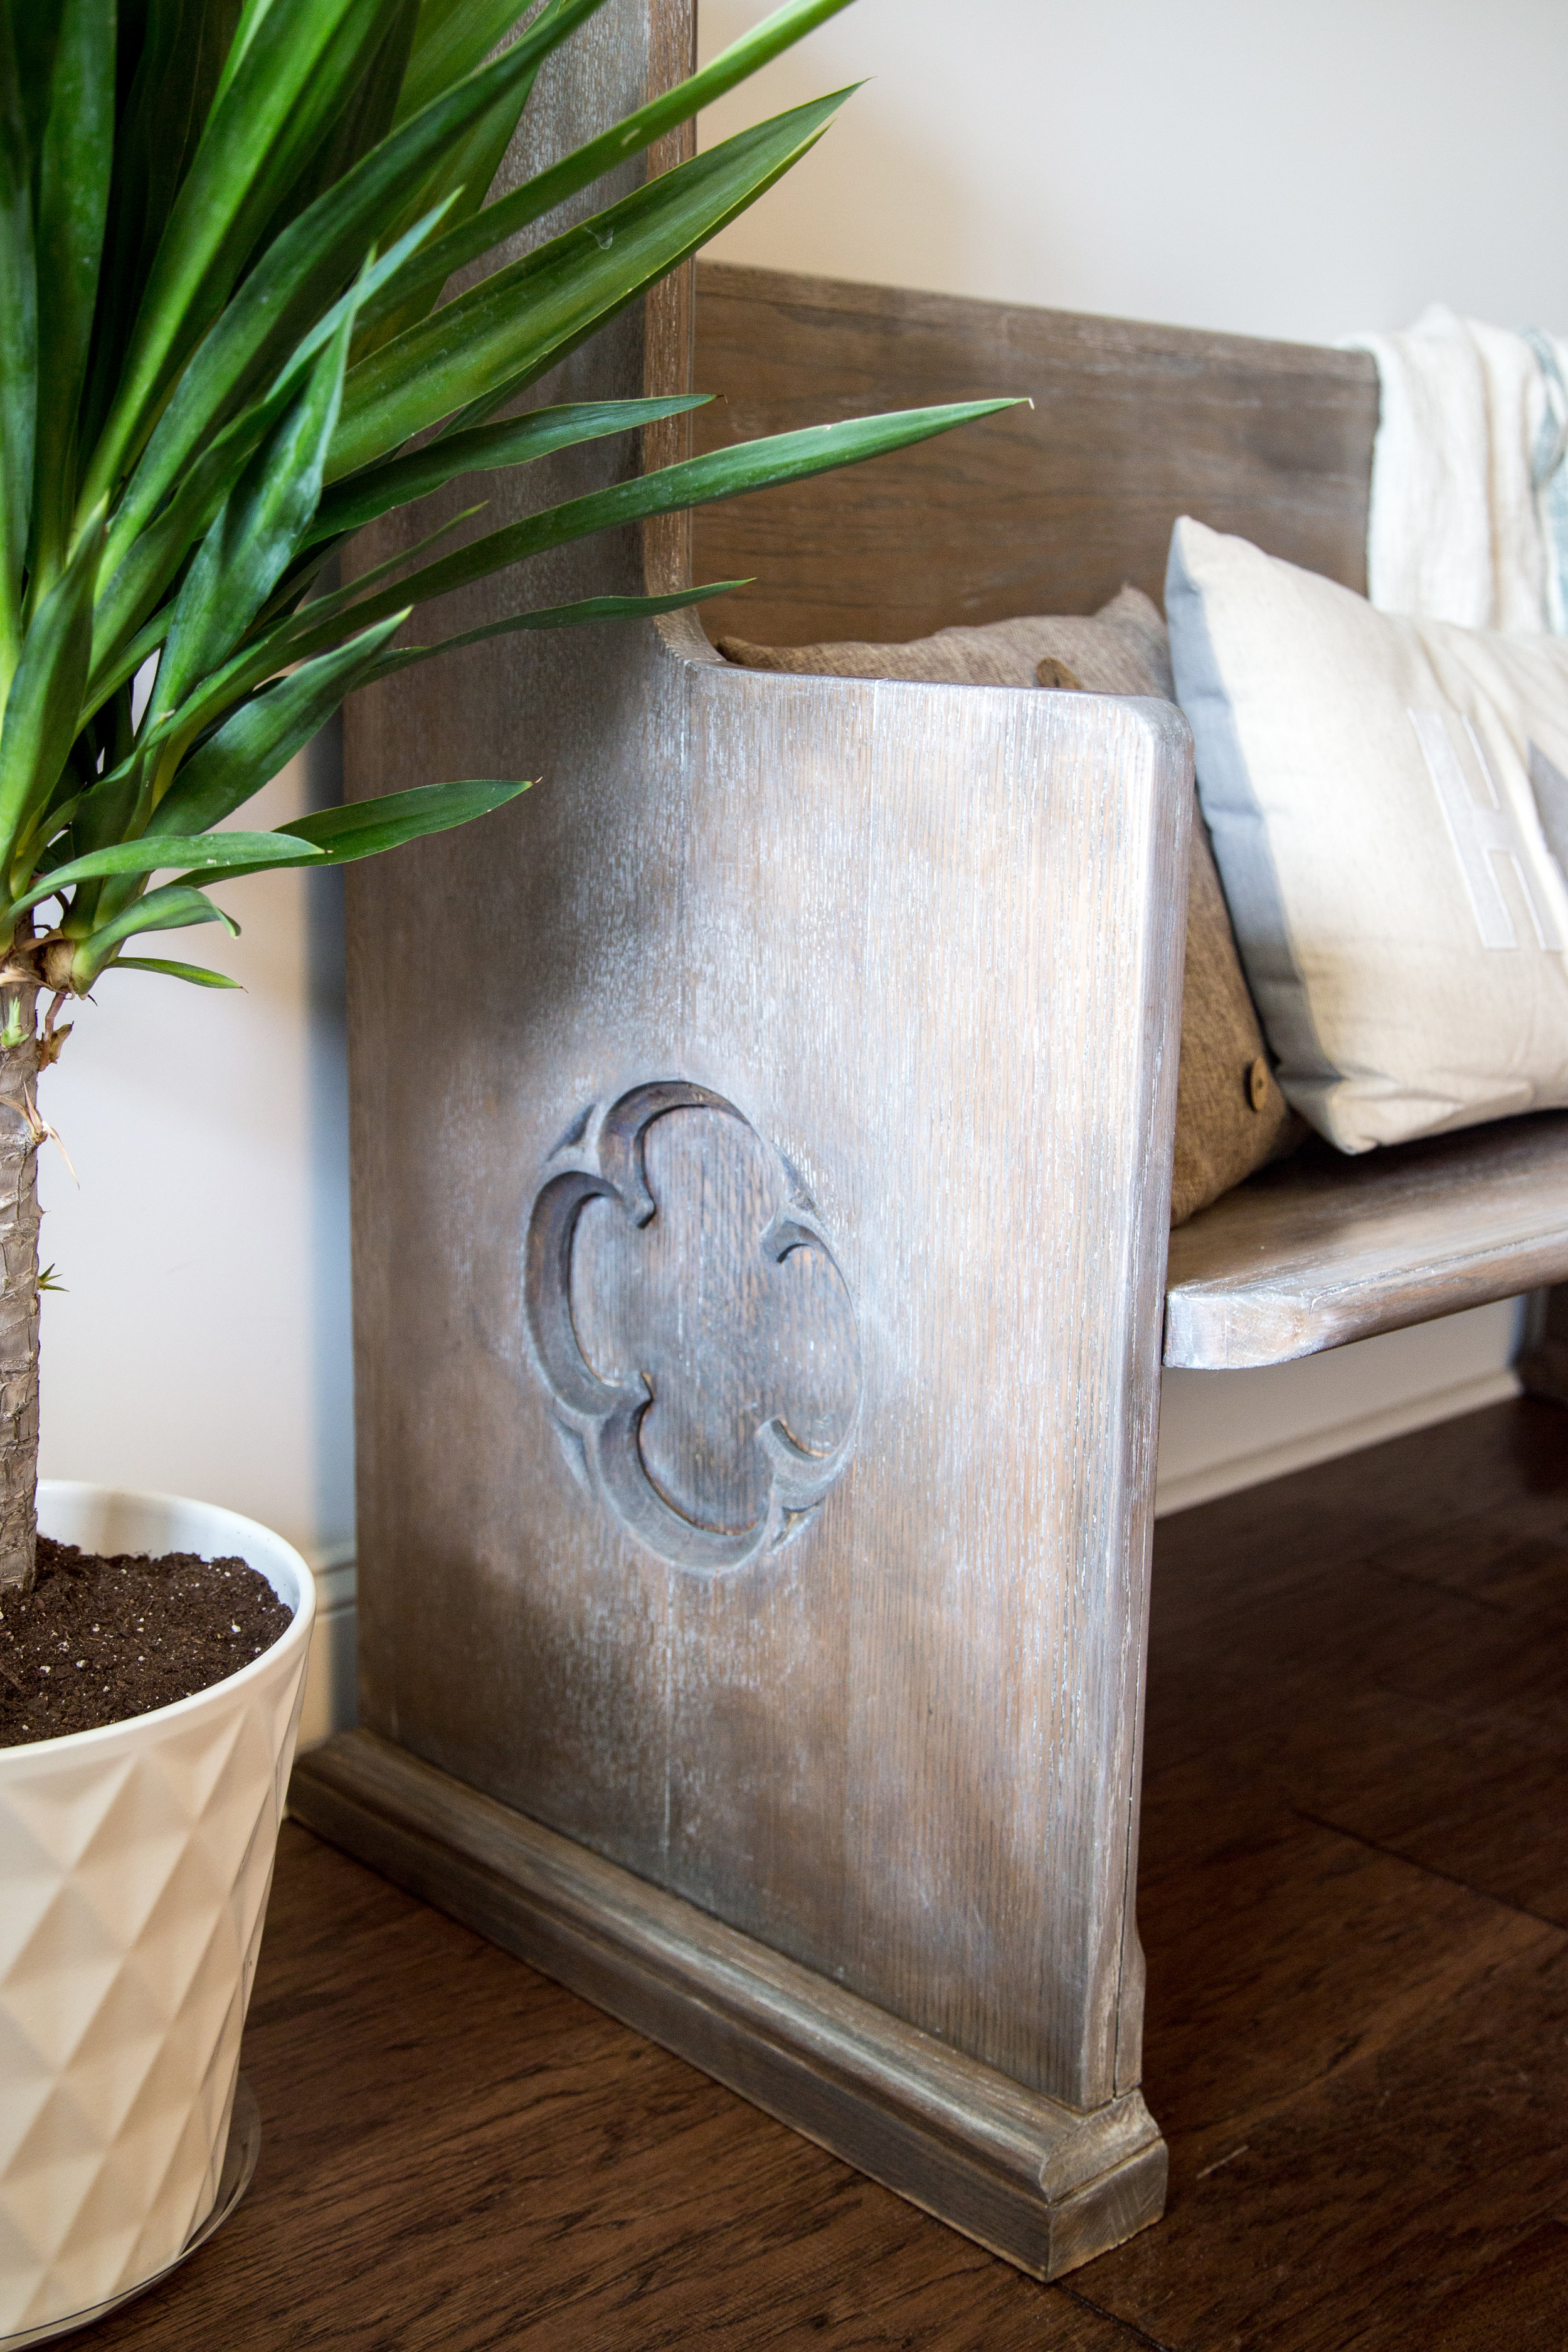
Step 7: Pat yourself on the back! You are all done, now step back and admire your labor of love!